Now that Halloween has come and gone,
I've been trying to focus and speed up my Christmas gifts production
and also trying to come up with some new ideas.
And because I am on a basket mood,
I remembered I had seen a fabric basket somewhere long ago.
So... I've decided to make one by memory and it came out pretty good.
And because it's so easy and neat
I made a quick and simple tutorial
if some of you would like to make one... :0)


 On the inside fabric mark a 5 inches square in the center of the fabric; machine stitch the four sides of the square and then stitch 2 diagonals forming an X on the inside of the square.
 and fill it up with the napkins of your choice!

And because I am on a basket mood,
I remembered I had seen a fabric basket somewhere long ago.
So... I've decided to make one by memory and it came out pretty good.
And because it's so easy and neat
I made a quick and simple tutorial
if some of you would like to make one... :0)

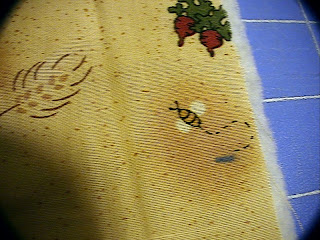
First, cut three 11 inches squares: 1 cotton print for the outside, 1 cotton print for the inside and 1 of batting.

From the outside fabric cut a strip 32 inches long by 2 inches wide.

Press it in half and then press one of the halves to the center
and then the other half (as if you're making a bias tape);
press it in half one more time.

Stitch both sides of the tape the closest to the border that you can.

Start by placing the inside fabric square on top of the batting square, right side up.
On the inside fabric mark 3 inches to each side from each corner (you'll have 8 marks).

Cut the tape you've made into 8 equal 4 inches segments;
place and pin each tape segment at the marks you previously made
(report to the pic above).
Don't forget, the tapes must lay to the inside of the square like shown above.

Then place the outside fabric right side down (wrong side up) on top of the inside fabric and pin it in place.

Machine stitch it all around and don't forget to leave a small opening so you can turn it inside out.

Turn it inside out.

Slip stitch the opening with small stitches, and then, about 1/2 inch from the border, top machine stitch all around.

 On the inside fabric mark a 5 inches square in the center of the fabric; machine stitch the four sides of the square and then stitch 2 diagonals forming an X on the inside of the square.
Tie the four corners on a bow
 and fill it up with the napkins of your choice!
Enjoy!
No comments:
Post a Comment